基于docker搭建CLIProxyAPI图文教程
本文作者:猫猫摸大鱼 原文地址:https://iloli.love/archives/1771758983917
1. 前言
本文隶属于 OpenClaw龙虾系列教程文章,建议按顺序阅读,可以访问OpenClaw龙虾系列教程文章目录 https://iloli.love/archives/1766849996690 查看其它文章,本文也可单独作为 CLIProxyAPI 搭建教程文章阅读
本文基于CLIProxyAPI v6.8.24版本,Github地址为 https://github.com/router-for-me/CLIProxyAPI
CLIProxyAPI 能够将 GeminiCLI , ClaudeCode 等转换为不仅限于原客户端使用的API,从而供给OpenClaw或其它客户端使用
该项目有更多玩法,本文只赘述其中一部分,其他请自行探索
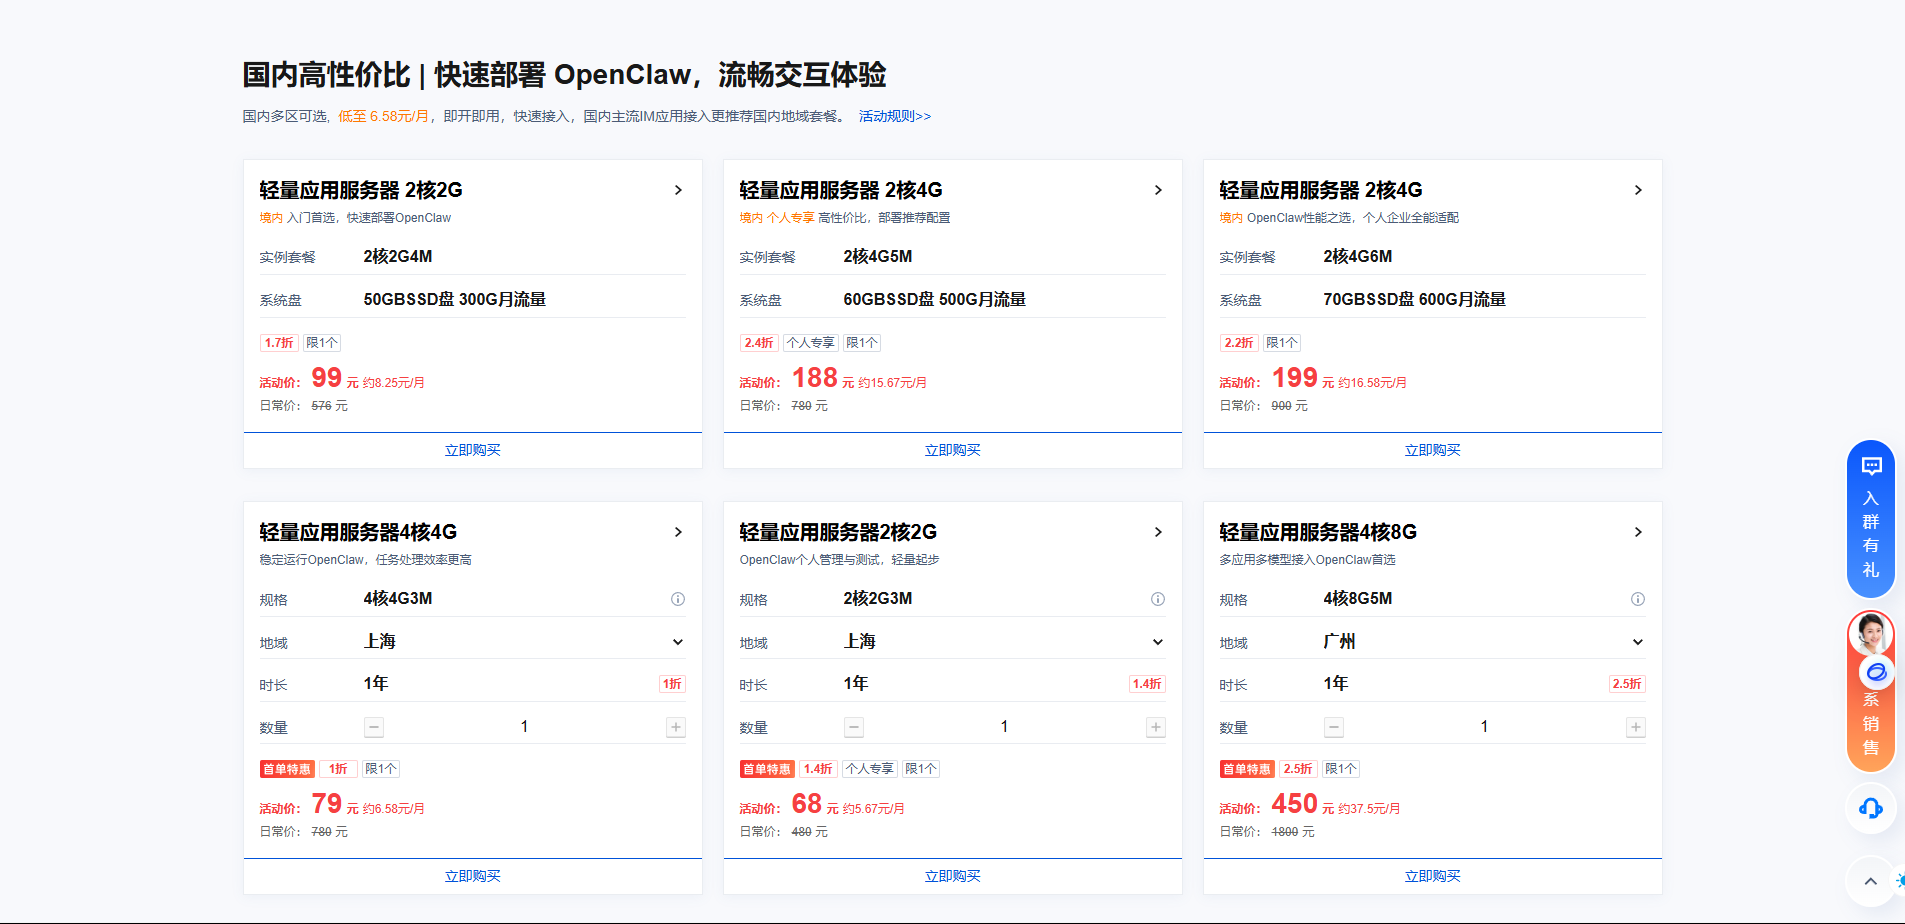
本系列教程全程使用腾讯云轻量应用服务器,可以参加腾讯云OpenClaw专属活动进行购买,新客68/年起,老客99/年起
活动链接 https://cloud.tencent.com/act/pro/lighthouse-moltbot (无AFF) http://to.iloli.love/openclaw (有AFF)
就算不买也强烈推荐使用有 快照 功能的厂商的服务器进行搭建,并且一定要经常打快照,不要问为什么,血的教训,血的教训,血的教训

2. 搭建
首先选择一个目录,本文中使用的是/data/CLIProxyAPI
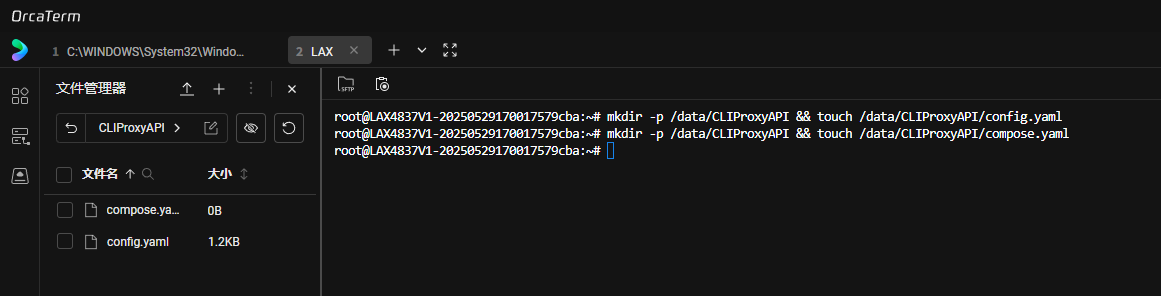
运行 mkdir -p /data/CLIProxyAPI && touch /data/CLIProxyAPI/config.yaml ,创建项目配置文件

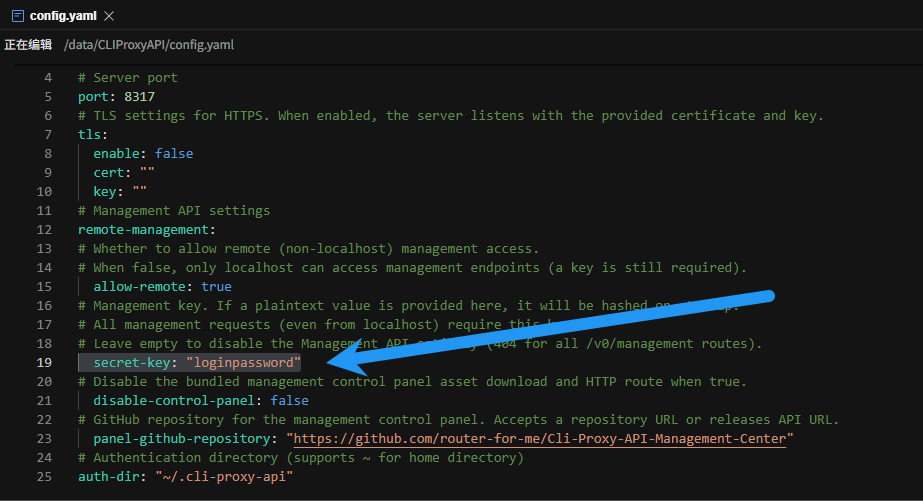
复制以下项目配置,将 secret-key 修改为你的密码
# Server host/interface to bind to. Default is empty ("") to bind all interfaces (IPv4 + IPv6).
# Use "127.0.0.1" or "localhost" to restrict access to local machine only.
host: ""
# Server port
port: 8317
# TLS settings for HTTPS. When enabled, the server listens with the provided certificate and key.
tls:
  enable: false
  cert: ""
  key: ""
# Management API settings
remote-management:
# Whether to allow remote (non-localhost) management access.
# When false, only localhost can access management endpoints (a key is still required).
  allow-remote: true
# Management key. If a plaintext value is provided here, it will be hashed on startup.
# All management requests (even from localhost) require this key.
# Leave empty to disable the Management API entirely (404 for all /v0/management routes).
  secret-key: "loginpassword"
# Disable the bundled management control panel asset download and HTTP route when true.
  disable-control-panel: false
# GitHub repository for the management control panel. Accepts a repository URL or releases API URL.
  panel-github-repository: "https://github.com/router-for-me/Cli-Proxy-API-Management-Center"
# Authentication directory (supports ~ for home directory)
auth-dir: "~/.cli-proxy-api"
粘贴到刚刚新建的 config.yaml 里
然后运行 mkdir -p /data/CLIProxyAPI && touch /data/CLIProxyAPI/compose.yaml ,创建docker compose文件
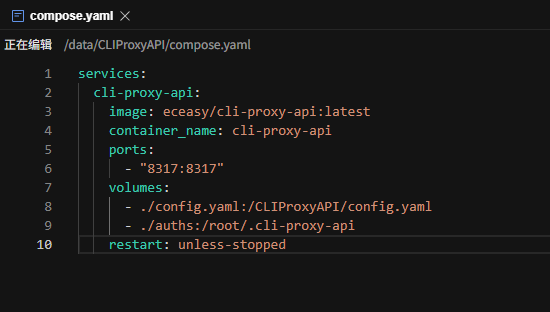
复制以下docker compose 配置
services:
  cli-proxy-api:
    image: eceasy/cli-proxy-api:latest
    container_name: cli-proxy-api
    ports:
      - "8317:8317"
    volumes:
      - ./config.yaml:/CLIProxyAPI/config.yaml
      - ./auths:/root/.cli-proxy-api
    restart: unless-stopped
粘贴到刚刚新建的 compose.yaml 里
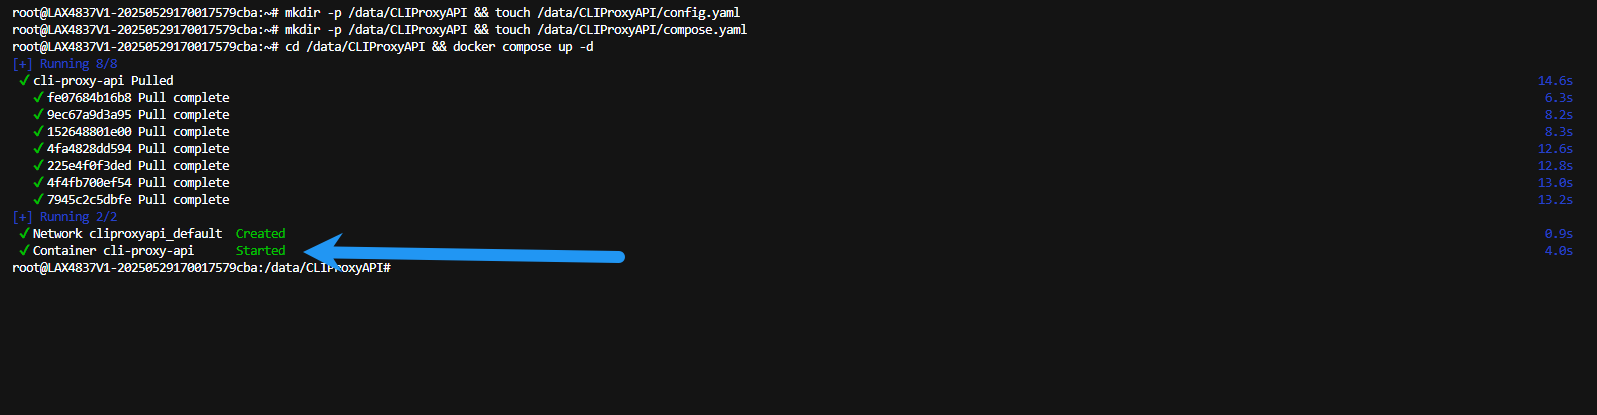
运行如下命令 cd /data/CLIProxyAPI && docker compose up -d ,创建容器,如图即为成功
3. 配置
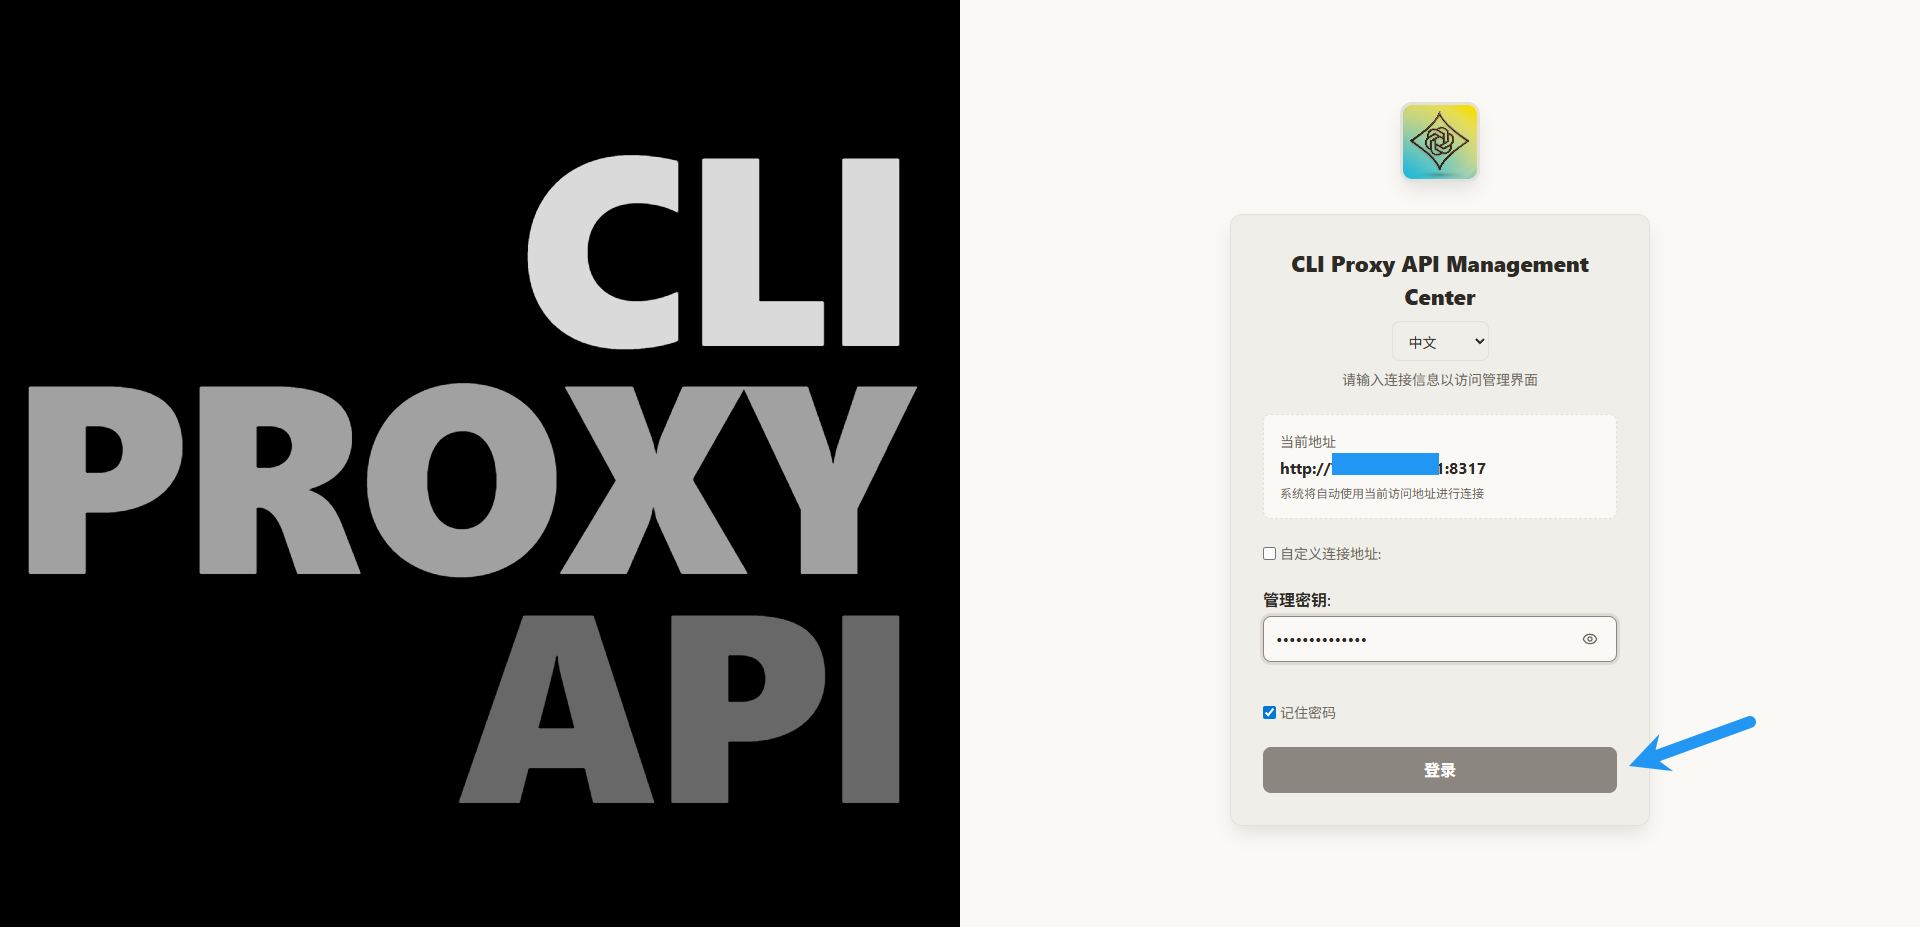
接下来访问 服务器IP:8317/management.html ,进入后台管理页(如果你修改了端口则替换为你的端口),输入你在前面配置的密码,登录
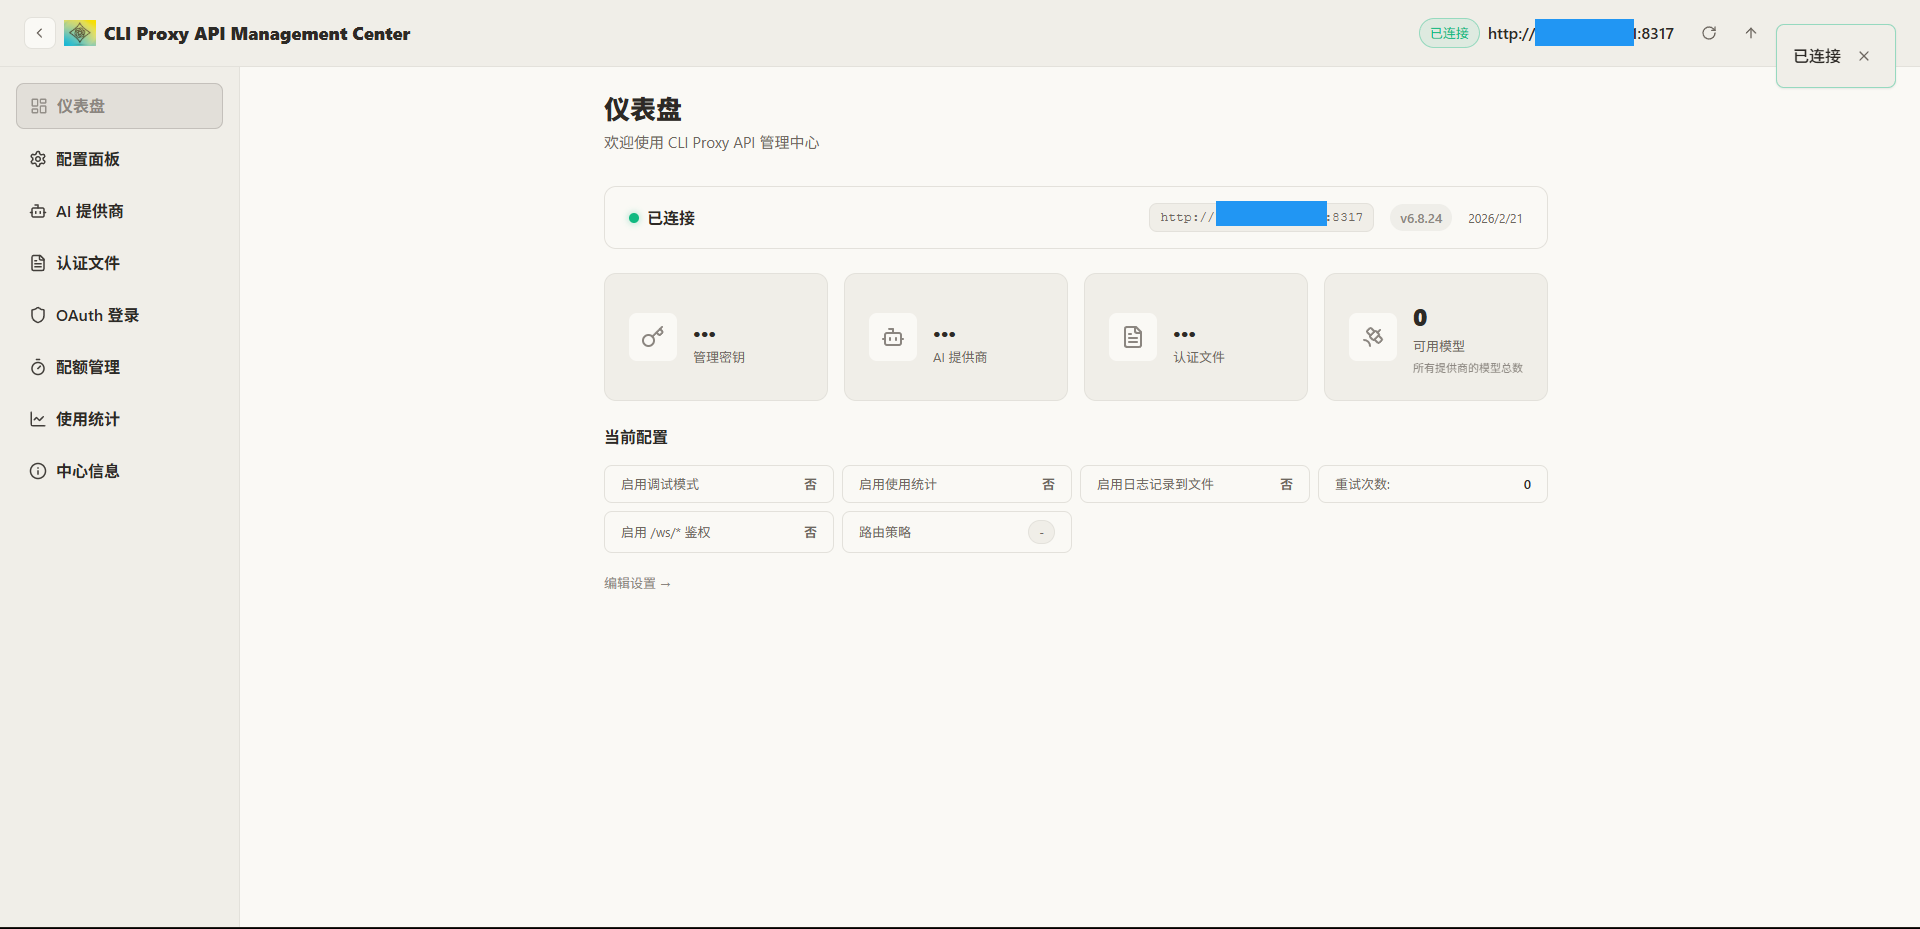
进入后台主页
本文以对接Qwen作为教程,其它大同小异,请自行研究
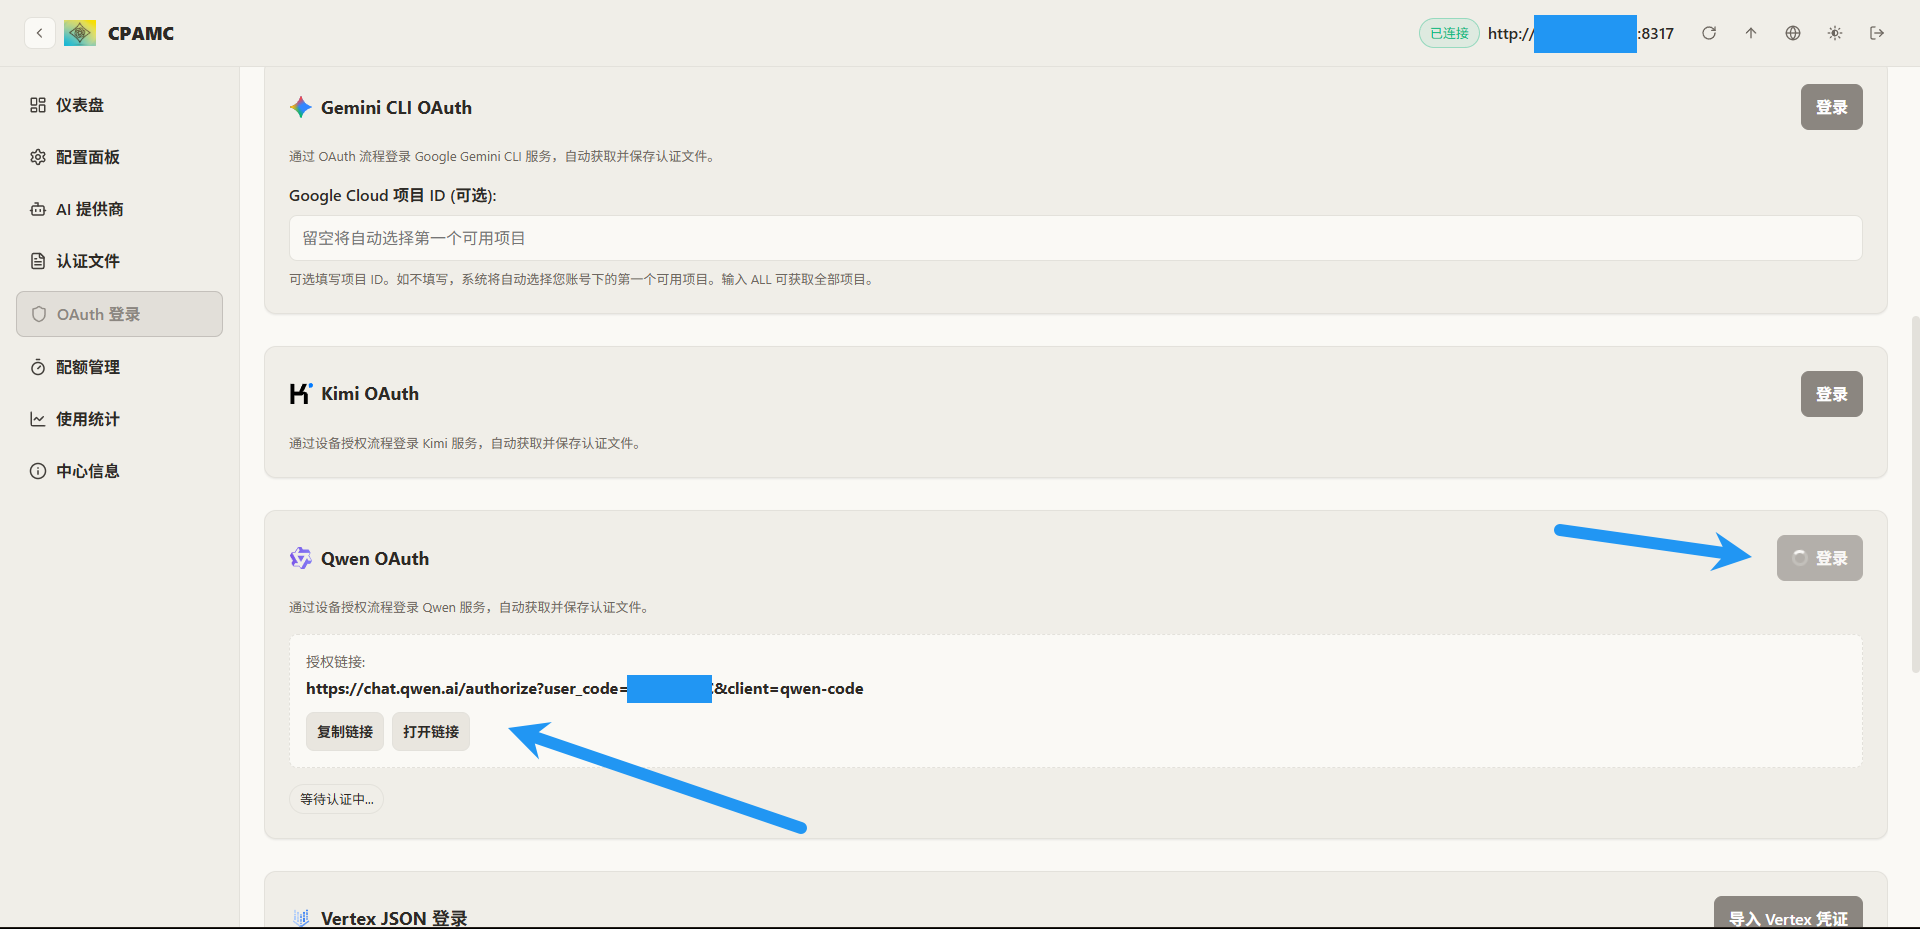
点击 OAuth 登录
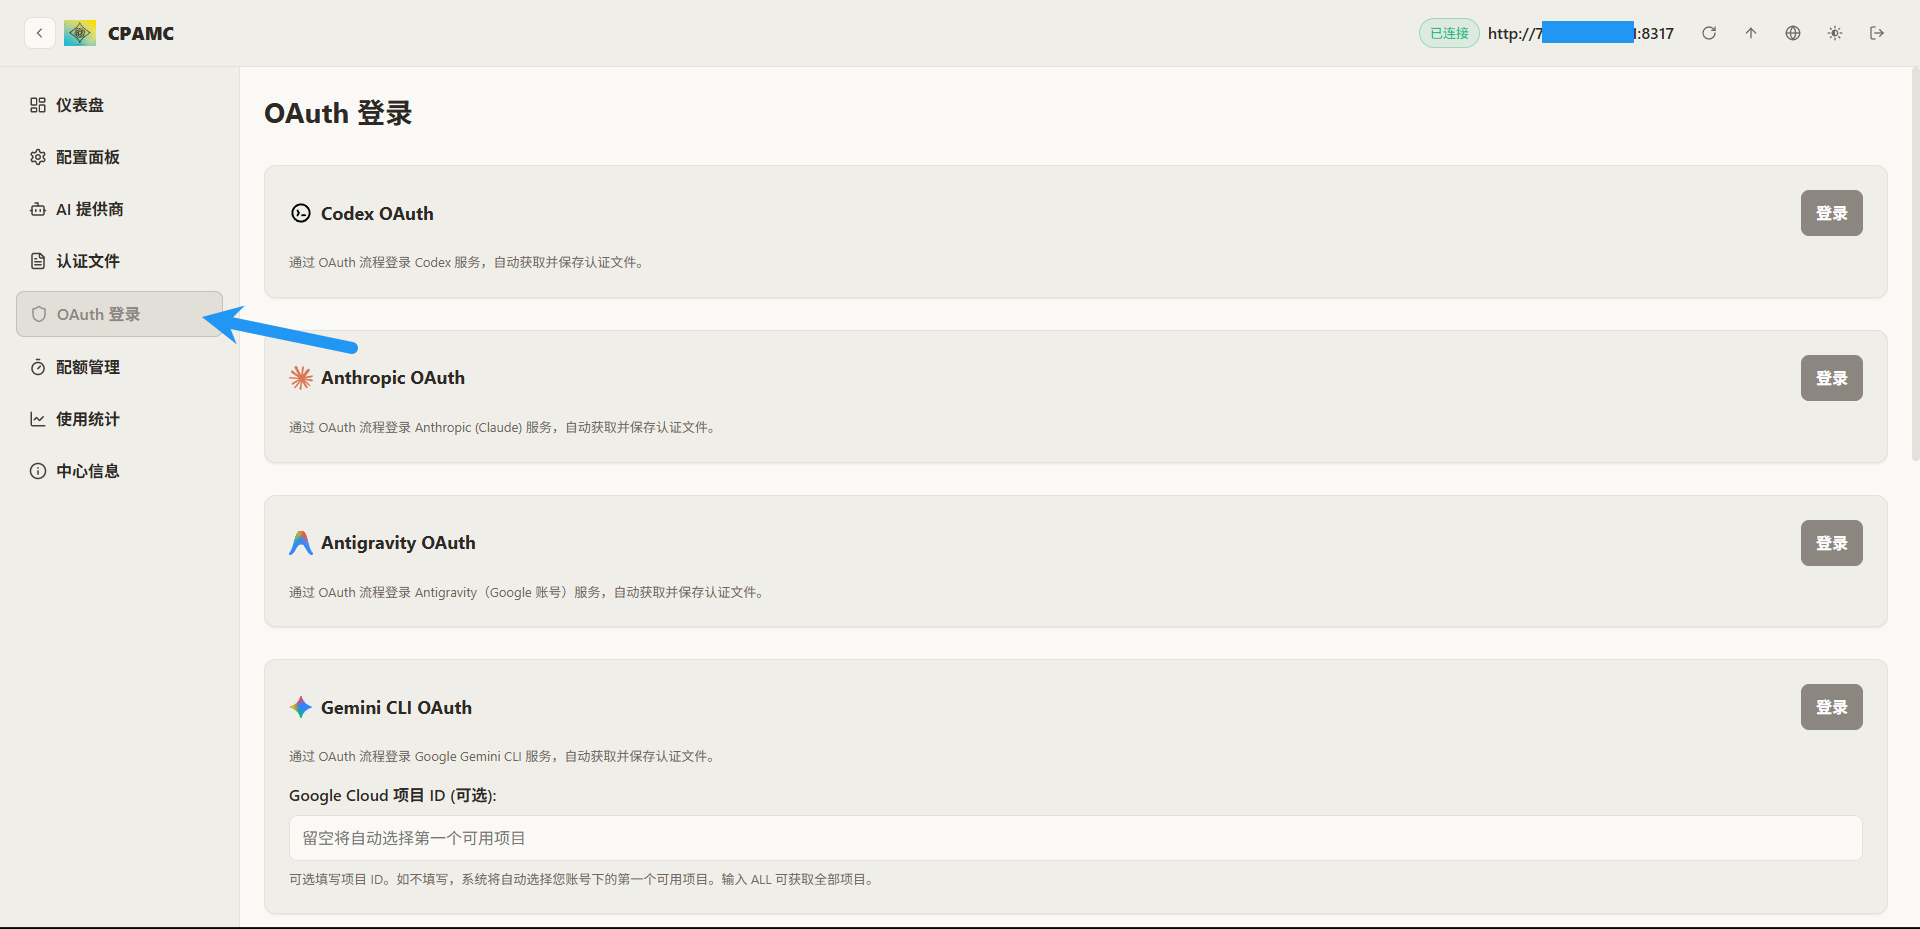
下拉到 Qwen OAuth ,点击登录,等待链接出现后,复制链接到浏览器打开,或者点击 打开链接 按钮
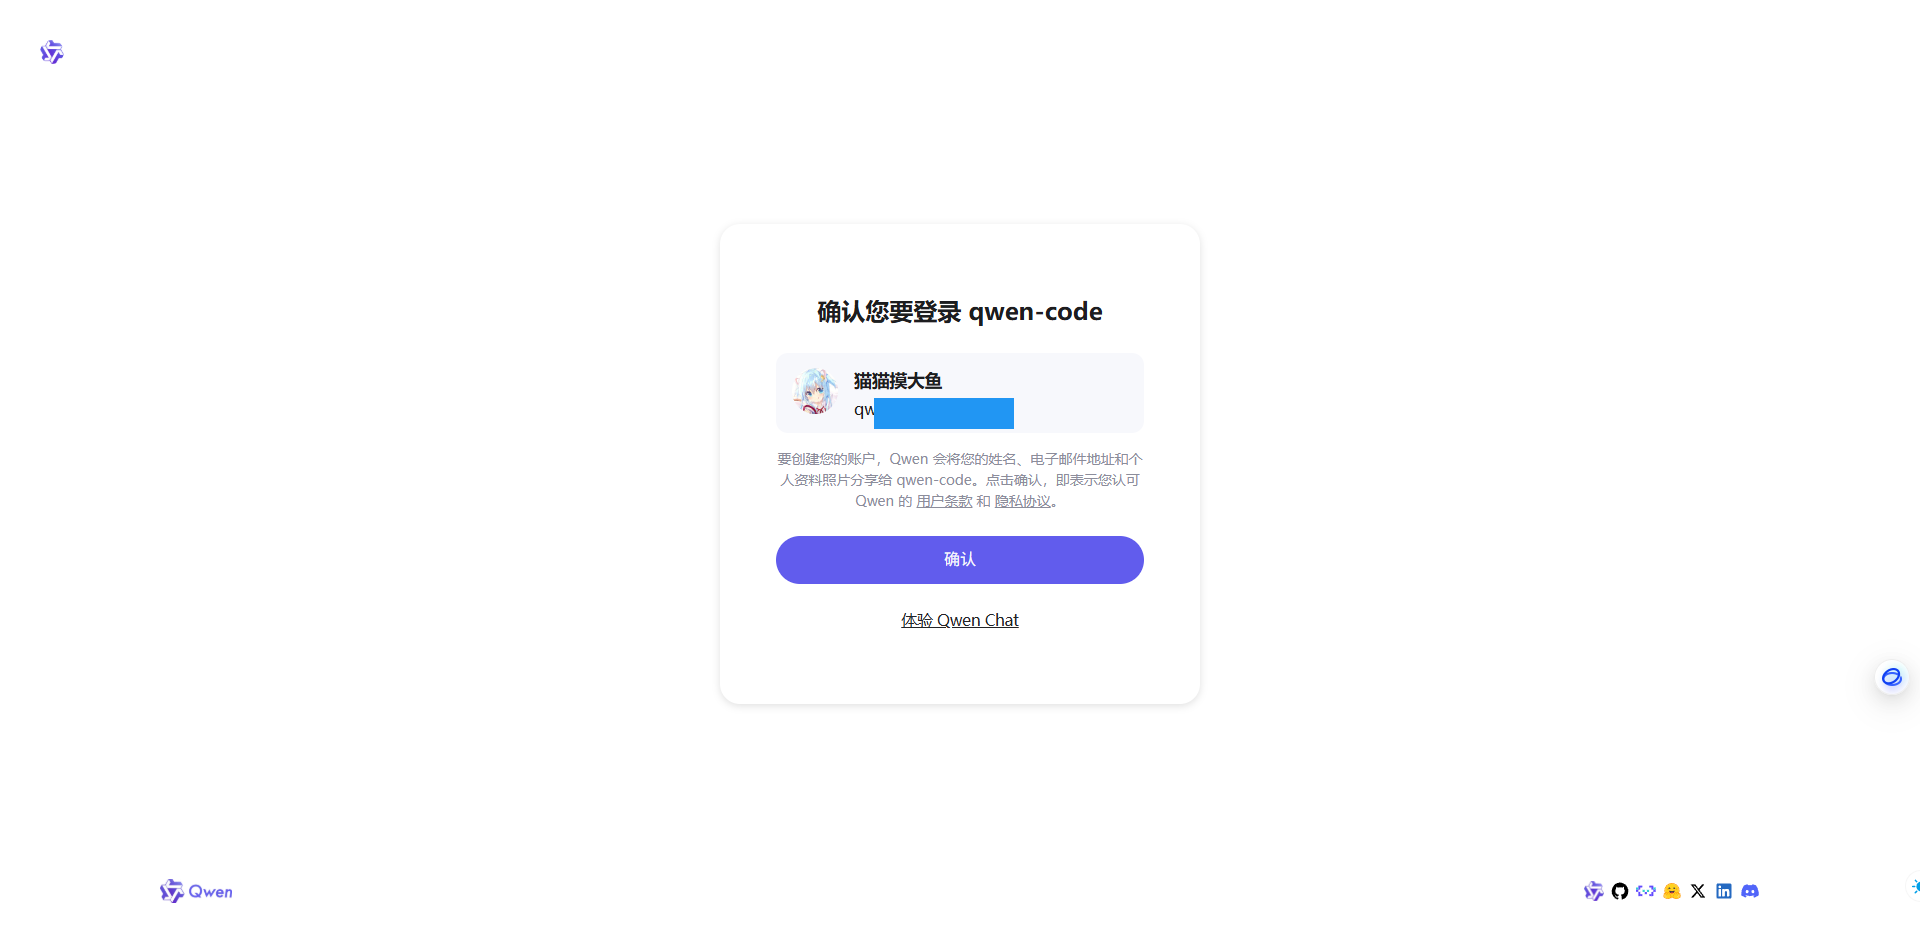
登录千问账号
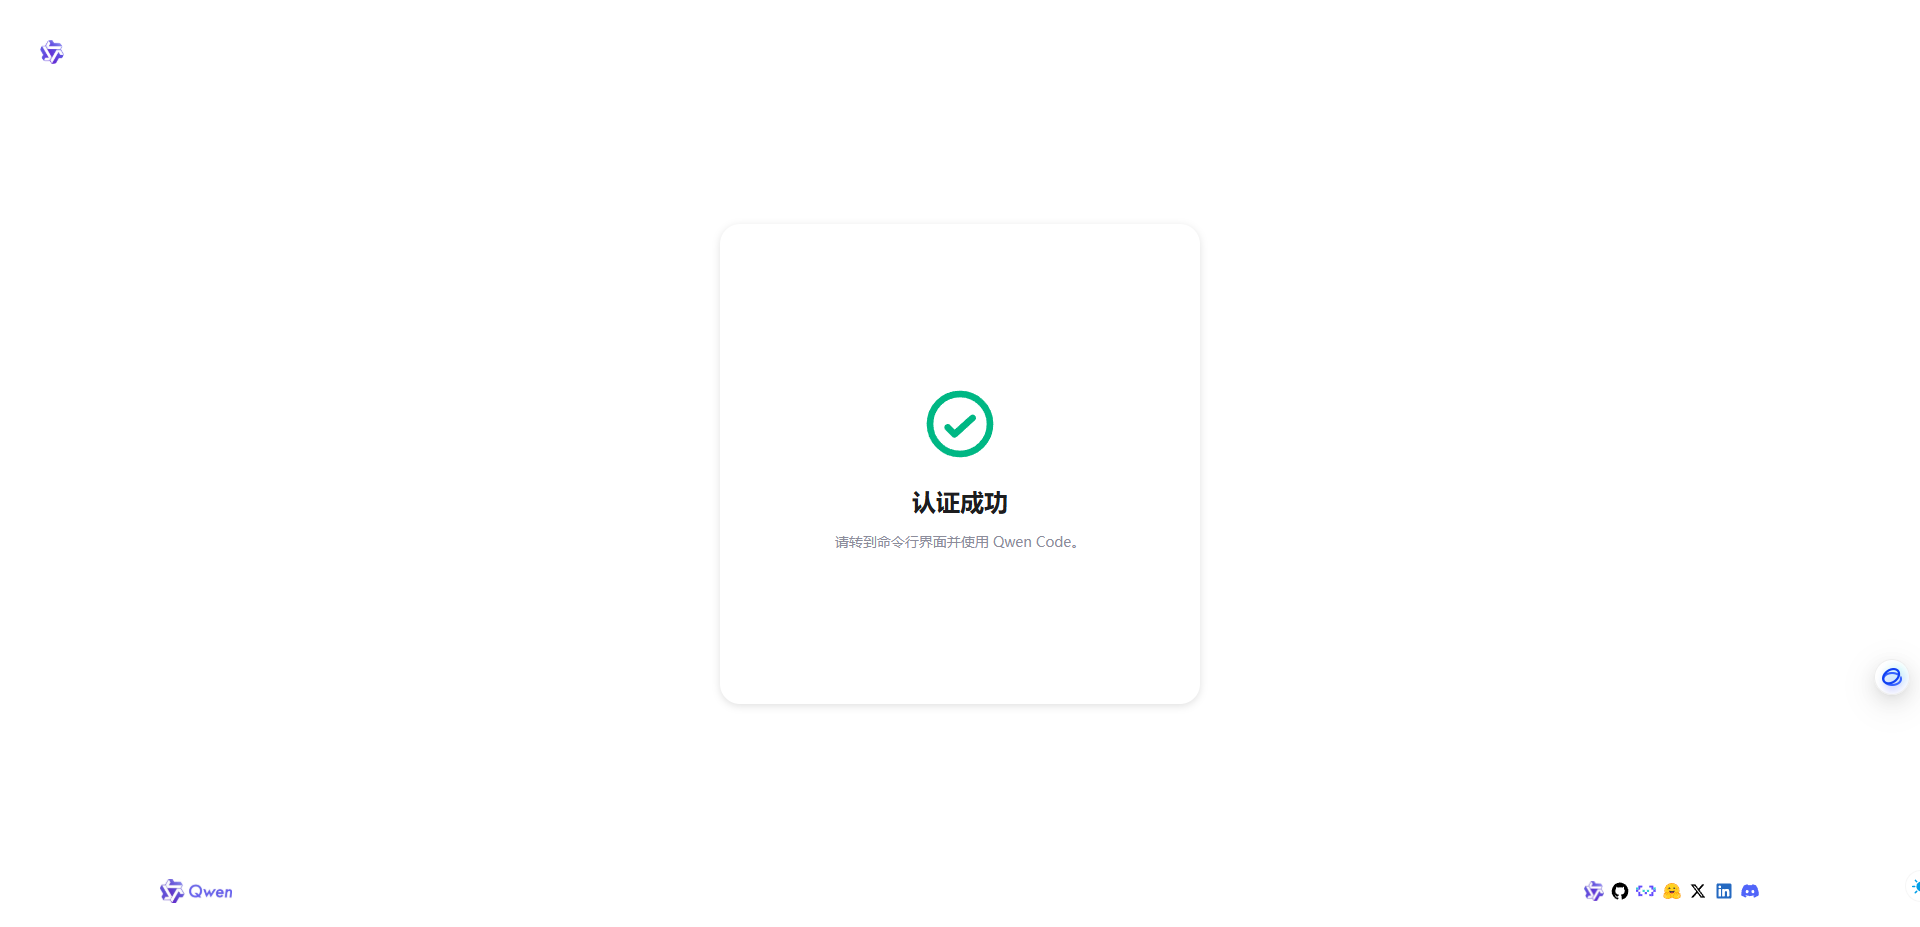
千问显示认证成功
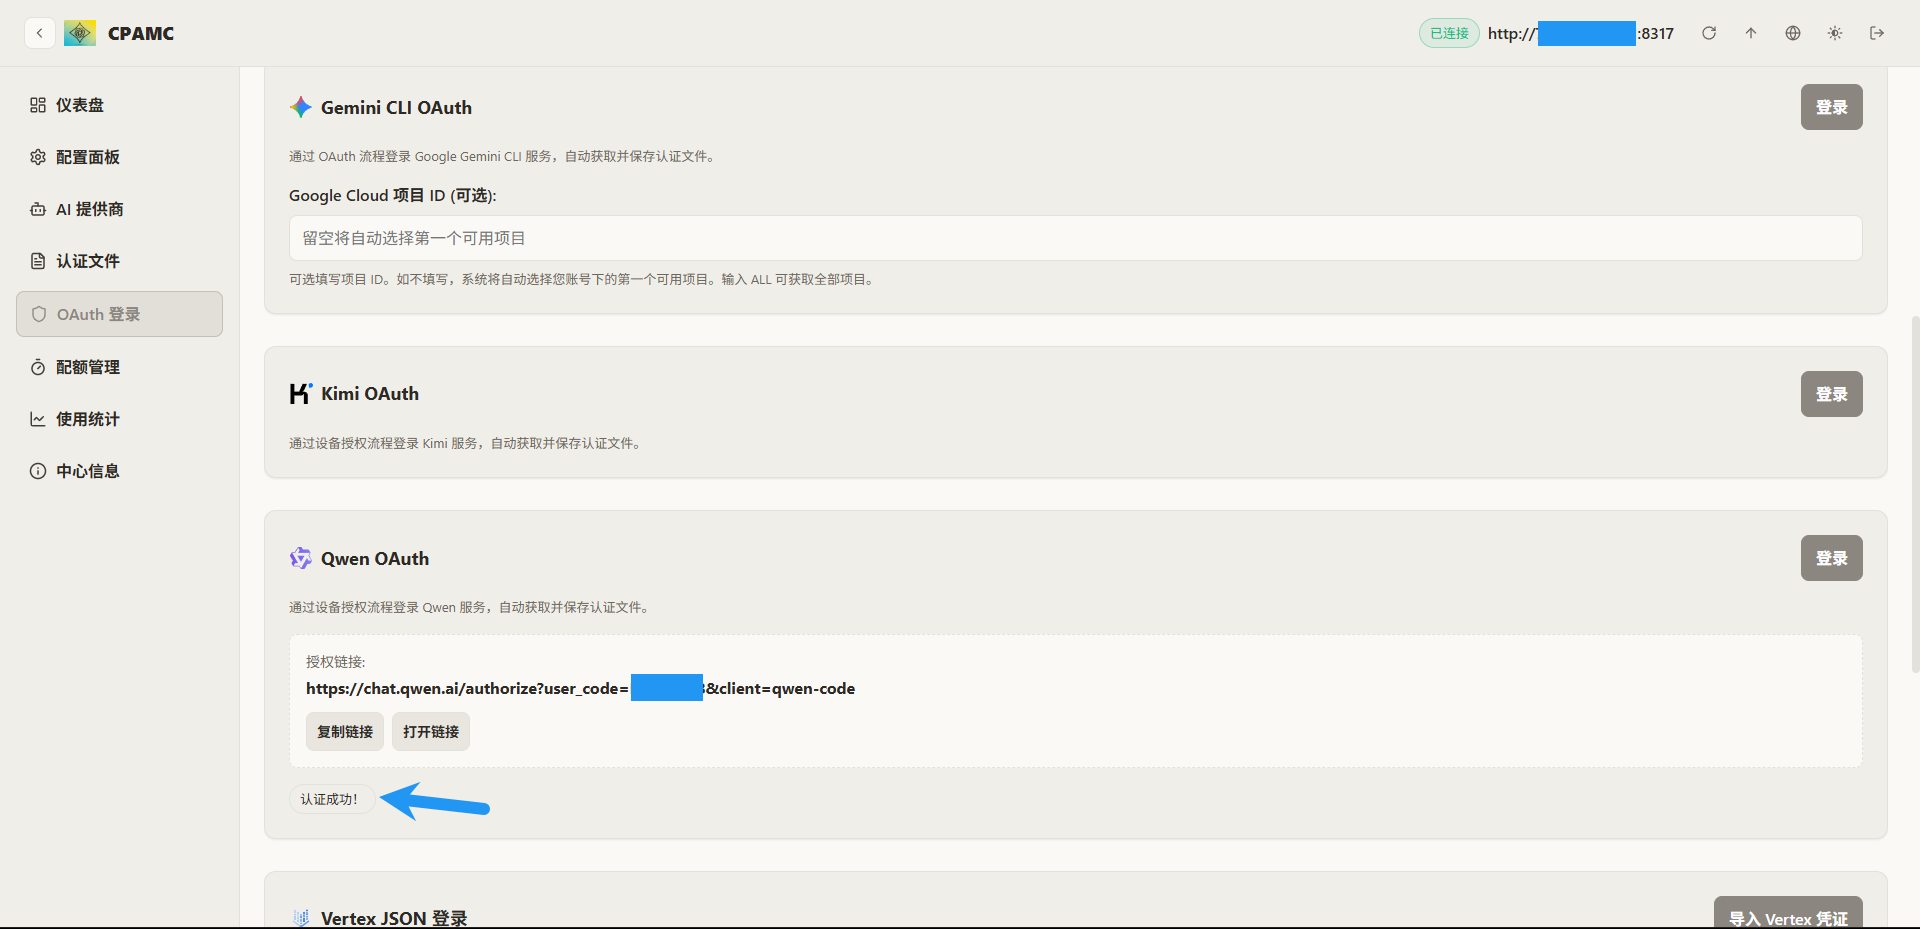
回到项目后台,也可以看到认证成功
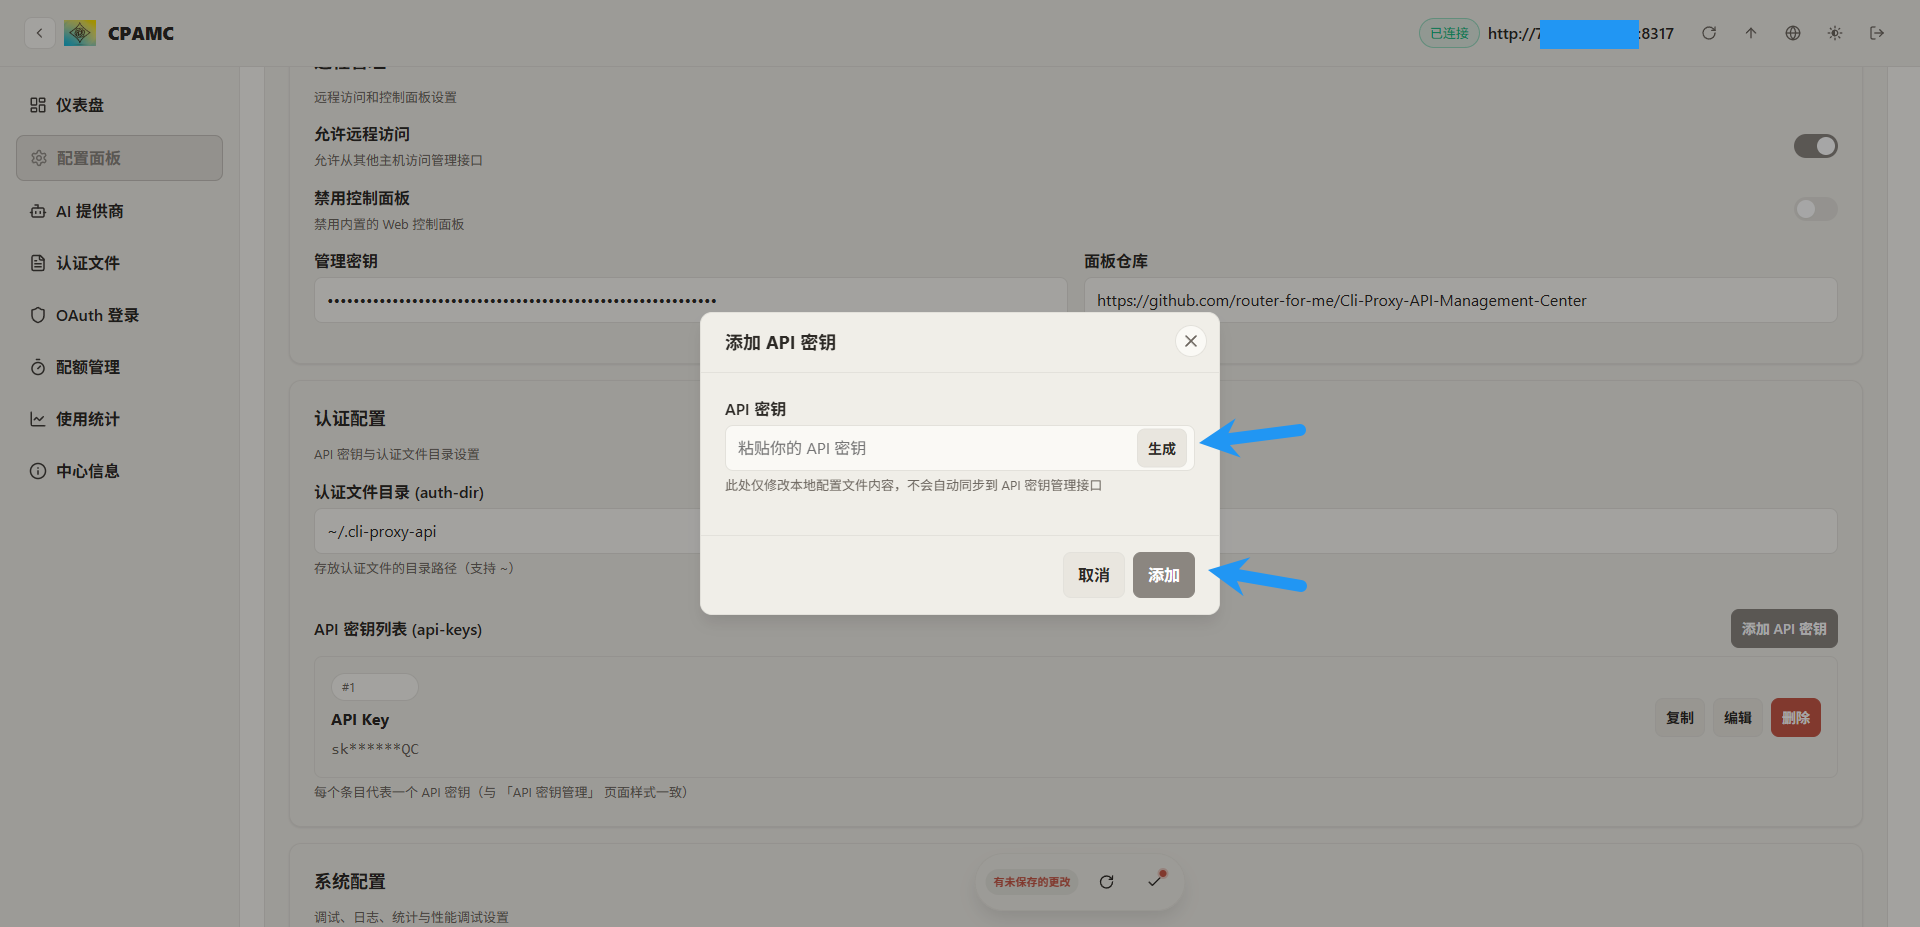
接下来添加 API 密钥,点击配置面板,下拉到认证配置处,点击添加 API 密钥

可自定义或随机生成一个 API 密钥,点击添加
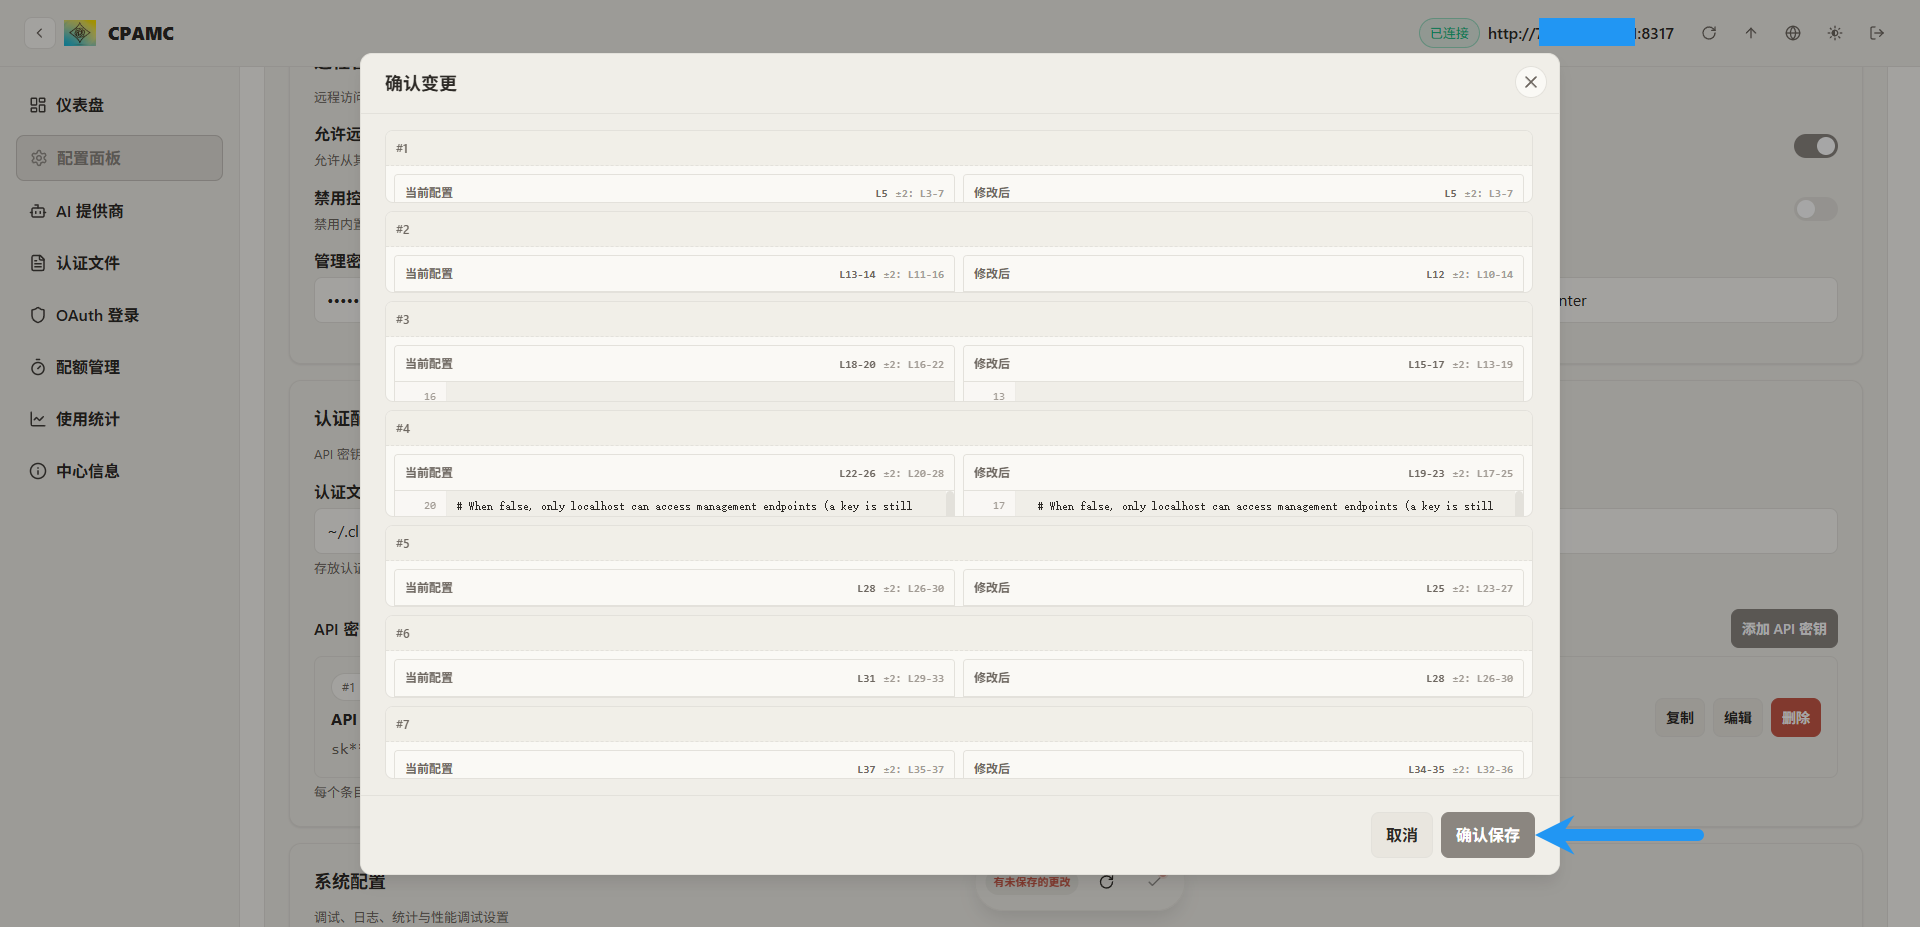
可以看到我们刚刚添加的 API 密钥,点击下方的对号,保存更改

点击确认保存
4. 使用
到此已经完成,可以使用该密钥了,BaseURL 即为你的服务器IP:项目端口,本项目能提供标准的OpenAI API和Claude API,这里就不过多赘述了